QMS How-to Guide Template
This template provides the practitioner with practical step-by-step instructions to achieve a specific goal.
---
title: <title>
categories: [<process name>]
tags: [How to Guide]
roles: [<r1>, <r2>]
owner: <process team name>
---
(... add a short abstract/summary, 1-2 sentences)
<!--more-->
(... add short introduction/description, 1-3 paragraphs)
## Intended for
(... add a list of roles who may be interested in this guide, and optionally why they need it)
## Prerequisites
(... Optional, in most cases this paragraph can be removed. If needed/applicable, describe necessary prerequisites to perform the activity.)
## Activities

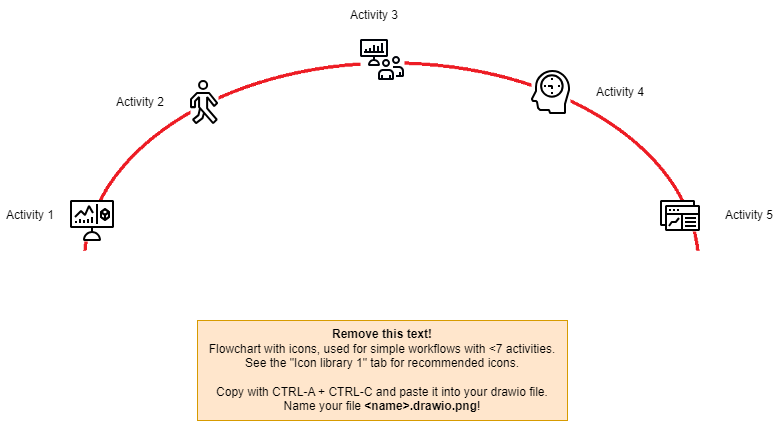
(... short clarification or explanation of the image - optional and can be removed)
### Activity 1
(... description of how the activity should be performed, and if applicable the roles involved)
### Activity 2
(... description of how the activity should be performed, and if applicable the roles involved)
### Activity n
(... description of how the activity should be performed, and if applicable the roles involved)
## Details
(... further explanations and details if needed - optional and can be removed )
## References
- [Ref1](link1)
- [Ref2](link2)
Do the following steps for the markdown file:
- Create a markdown file in Azure DevOps (ADO).
- Copy the text above to the markdown file (you can use the "copy" button).
- Make the changes in markdown file and save.
Do the following steps for the diagram template:

- Download the diagram template (click anywhere in the image above).
- Open the application http://app.diagrams.net by clicking on the link.
- Select "Open Existing Diagram" and then navigate to the downloaded file.
- Edit the new diagram in the "Arch-and-Icon" tab, and copy images and icons from the other tabs in "drawio".
- Remove graphics and tabs in "drawio" not needed (only keep "Arch-and-Icons" tab).
- Select "File - Save As", and save it on disk with a filename:
<filename>.drawio.png. - Select your branch in ADO: https://dev.azure.com/ABB-BCI-PCP/OpEx/_git/pcp/branches .
- Drag & drop the file to the right folder in ADO.
- Update the markdown file to include the image (e.g.,
.
Owner: Core Team